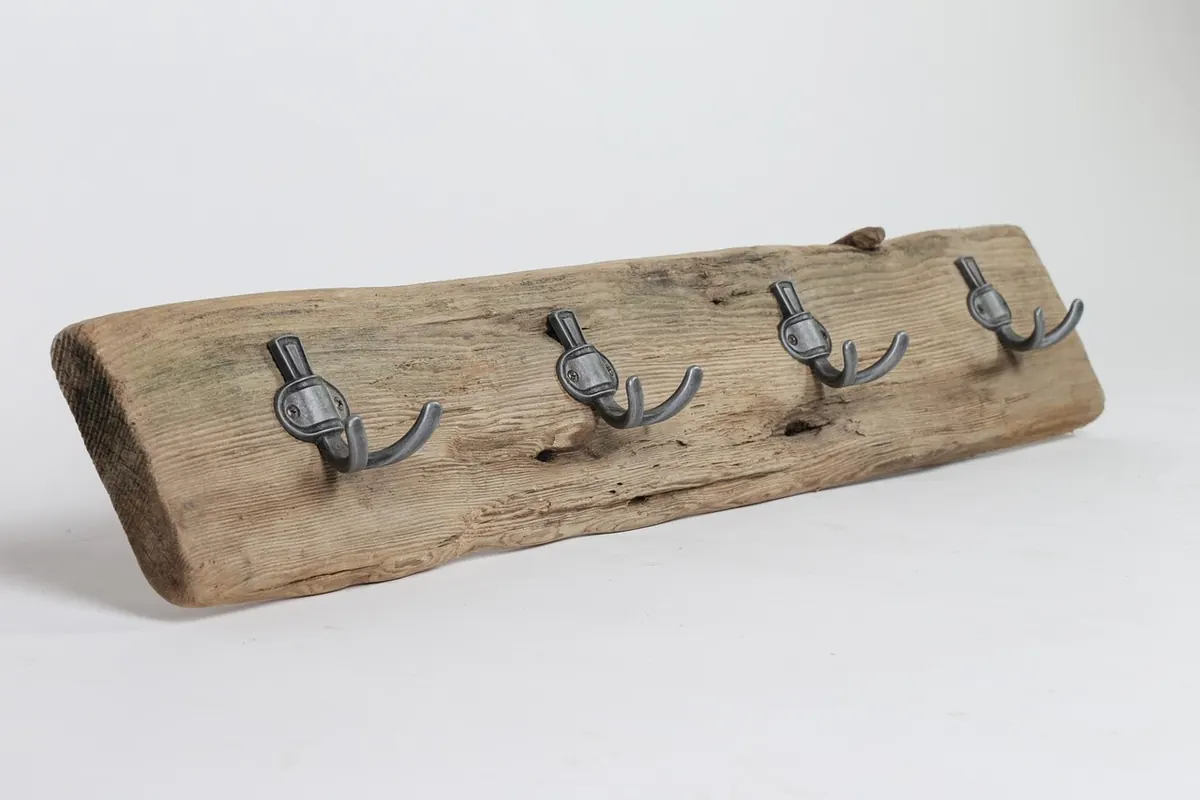
Pine is one of the most forgiving woods in a cottage or farmhouse interior, which is why so much of it ends up in kitchens, hallways and bedrooms. It is also soft. A dropped key leaves a dent, a hot mug leaves a ring, and the wrong cleaner can lift a wax finish in seconds. The good news is that most damage to pine comes from doing too much rather than too little. Gentle, regular care keeps it looking warm and lived-in, while harsh products strip away the very thing that gives it character.
Start by working out what is on the wood
Before a cloth touches the surface, identify the finish. Waxed and oiled pine feels dry and slightly velvety under the fingers, and a drop of water on an inconspicuous spot will sit for a moment before darkening the wood. Lacquered or varnished pieces feel smooth and faintly plastic, and water beads on them for far longer. Painted pine needs a different approach again, particularly if the paint is chalk, milk or emulsion-based, which is often sealed with clear wax rather than a hard varnish.
Test on the underside of a table or inside a drawer if you are unsure. The finish decides everything: water, solvents and abrasives that a lacquered surface shrugs off will ruin waxed pine in minutes.
A gentle weekly routine
Most pine needs no more than ten minutes a week plus a slightly deeper clean once a month. Work in this order and you will rarely need anything stronger.
- Dust dry first with a soft, lint-free cloth or a microfibre duster, working from the top down so you are not flicking dust onto what you have just cleaned. Include legs, stretchers and the undersides of shelves.
- Fill a bowl with lukewarm water and add a single drop of mild washing-up liquid. Wring the cloth out until it is barely damp — it should feel almost dry to the touch.
- Wipe a small section at a time, following the direction of the grain rather than scrubbing across it. Rinse the cloth in clean water often; a cloth that is picking up grime is simply moving it around.
- Dry immediately with a second, dry cloth. Never leave water sitting in a puddle, and never let a damp cloth rest on the surface afterwards.
- Leave the piece to air for a few minutes before putting lamps, bowls or plants back.
Dust weekly, damp-wipe monthly or whenever a surface feels tacky to the hand. Kitchen tables and hall benches usually need the damp wipe more often than a bedroom chest of drawers does.
What to avoid on pine
Some products are sold as furniture care but do more harm than good on an old waxed piece. Keep these away:
- Silicone-based sprays and polishes. They leave a greasy film that attracts dust and makes future waxing patchy, and they are notoriously difficult to remove if you ever want to refinish the piece.
- All-purpose kitchen and bathroom sprays. Many contain solvents, bleach or degreasers that dull wax and lift paint at the edges.
- Vinegar, lemon juice and other acids. Fine for a stripped, oiled table top if you dry it straight away, but on waxed pine they cut through the finish and leave a pale patch.
- Scouring pads and cream cleansers. Pine is soft enough that an abrasive takes wood with it, not just dirt.
- Soaking wet cloths. Water is the enemy of any pine joint; it swells the wood, loosens glue and stains the surface grey.
- Direct sun and radiators. Heat dries and cracks wax, and sunlight bleaches pine unevenly, leaving pale rectangles where ornaments sat for years.
If you would not use a product on your own skin, it is almost certainly too harsh for waxed pine.
Waxing waxed pine the right way
How to apply it
Use a soft paste wax or beeswax blend and a clean lint-free cloth. Rub a thin film over the surface in small circles, or with the grain on open-grained areas, then leave it to haze for twenty minutes or so. Buff it off briskly with a second cloth. Two thin coats always beat one thick one, which stays tacky and collects dust.
Never wax over dirt: clean and dry the piece first. If it has been treated with a spray polish for years, a light wipe with a cloth dampened in white spirit will strip the silicone film, but test on a hidden area and let the wood dry completely before waxing.
How often
New waxed pine drinks up wax, so it may want a thin coat every two or three months for its first year. After that, once or twice a year is usually enough. A surface that looks dull, feels dry or shows pale patches is asking for wax; one that feels greasy and marks easily has had too much. If wax builds up, remove the excess with a cloth and a little white spirit, then start again.
Lifting stains and marks
Water rings. Often they are only in the wax, not the wood. Leave it overnight; many disappear on their own. If not, rub along the grain with a cloth and a little wax. For stubborn rings, use 0000 grade wire wool with wax, very lightly, with the grain, then buff.
Heat marks. The white bloom from a hot plate responds to the same treatment: a light rub with fine wire wool and wax, along the grain, followed by a buff.
Ink and felt tip. Try a cotton bud dipped in methylated spirits on waxed or lacquered pine, working on a tiny area and dabbing rather than rubbing. On painted pine this can lift the paint, so test first and rewax or touch up afterwards.
Grease and fingerprints. A barely damp cloth with a drop of washing-up liquid, dried at once, deals with almost everything on kitchen pine.
Scratches and dents. A wax filler stick in a matching shade hides fine scratches. On bare, unfinished pine, a dent can sometimes be raised with a damp cloth and a warm iron held above it — but do not try this on a waxed or painted surface.
Painted pine needs a lighter touch
Painted pieces are cleaned with the same barely damp cloth, and nothing more. Avoid scrubbing chips and edges, which only makes them worse. Keep a small pot of the original paint for touching up scuffs, and dab rather than brush so the repair blends in. If a painted piece has been finished with clear wax, it can be rewaxed sparingly once or twice a year to keep it wipeable.
Watch for orange-brown stains creeping through the paint on knots. That is resin, and it needs a shellac-based knotting solution before repainting, or it will come back. In warm rooms, a knot that has bled once will usually do it again.
A routine worth keeping
Dust weekly with a dry cloth, wipe with a barely damp one once a month, wax lightly once or twice a year, and mop up spills the moment they happen. Add felt pads under lamps, jugs and anything that gets moved, and use coasters without apology. Pine is designed to age, and a few small scratches and a soft honey colour are part of the charm. Care for the finish rather than chasing the wood, and the piece will comfortably outlast the fuss.
Photo: terimakasih0 / Pixabay